Hubspot
Enhance your sales process by syncing web visitors directly to your leads and contacts.
Hubspot must be connected as a Source before you can connect it as a Destination. View our guide for Source setup here.
Video Walkthrough
Destination Overview
Sync Schedule
Each record in your audience will appear as a new Contact in HubSpot. With the audience's filter settings applied, new visitors will be continuously refreshed and added to your audience automatically. New records entering your audience will automatically sync to HubSpot daily at 12:15 pm EST.
Suppression Settings
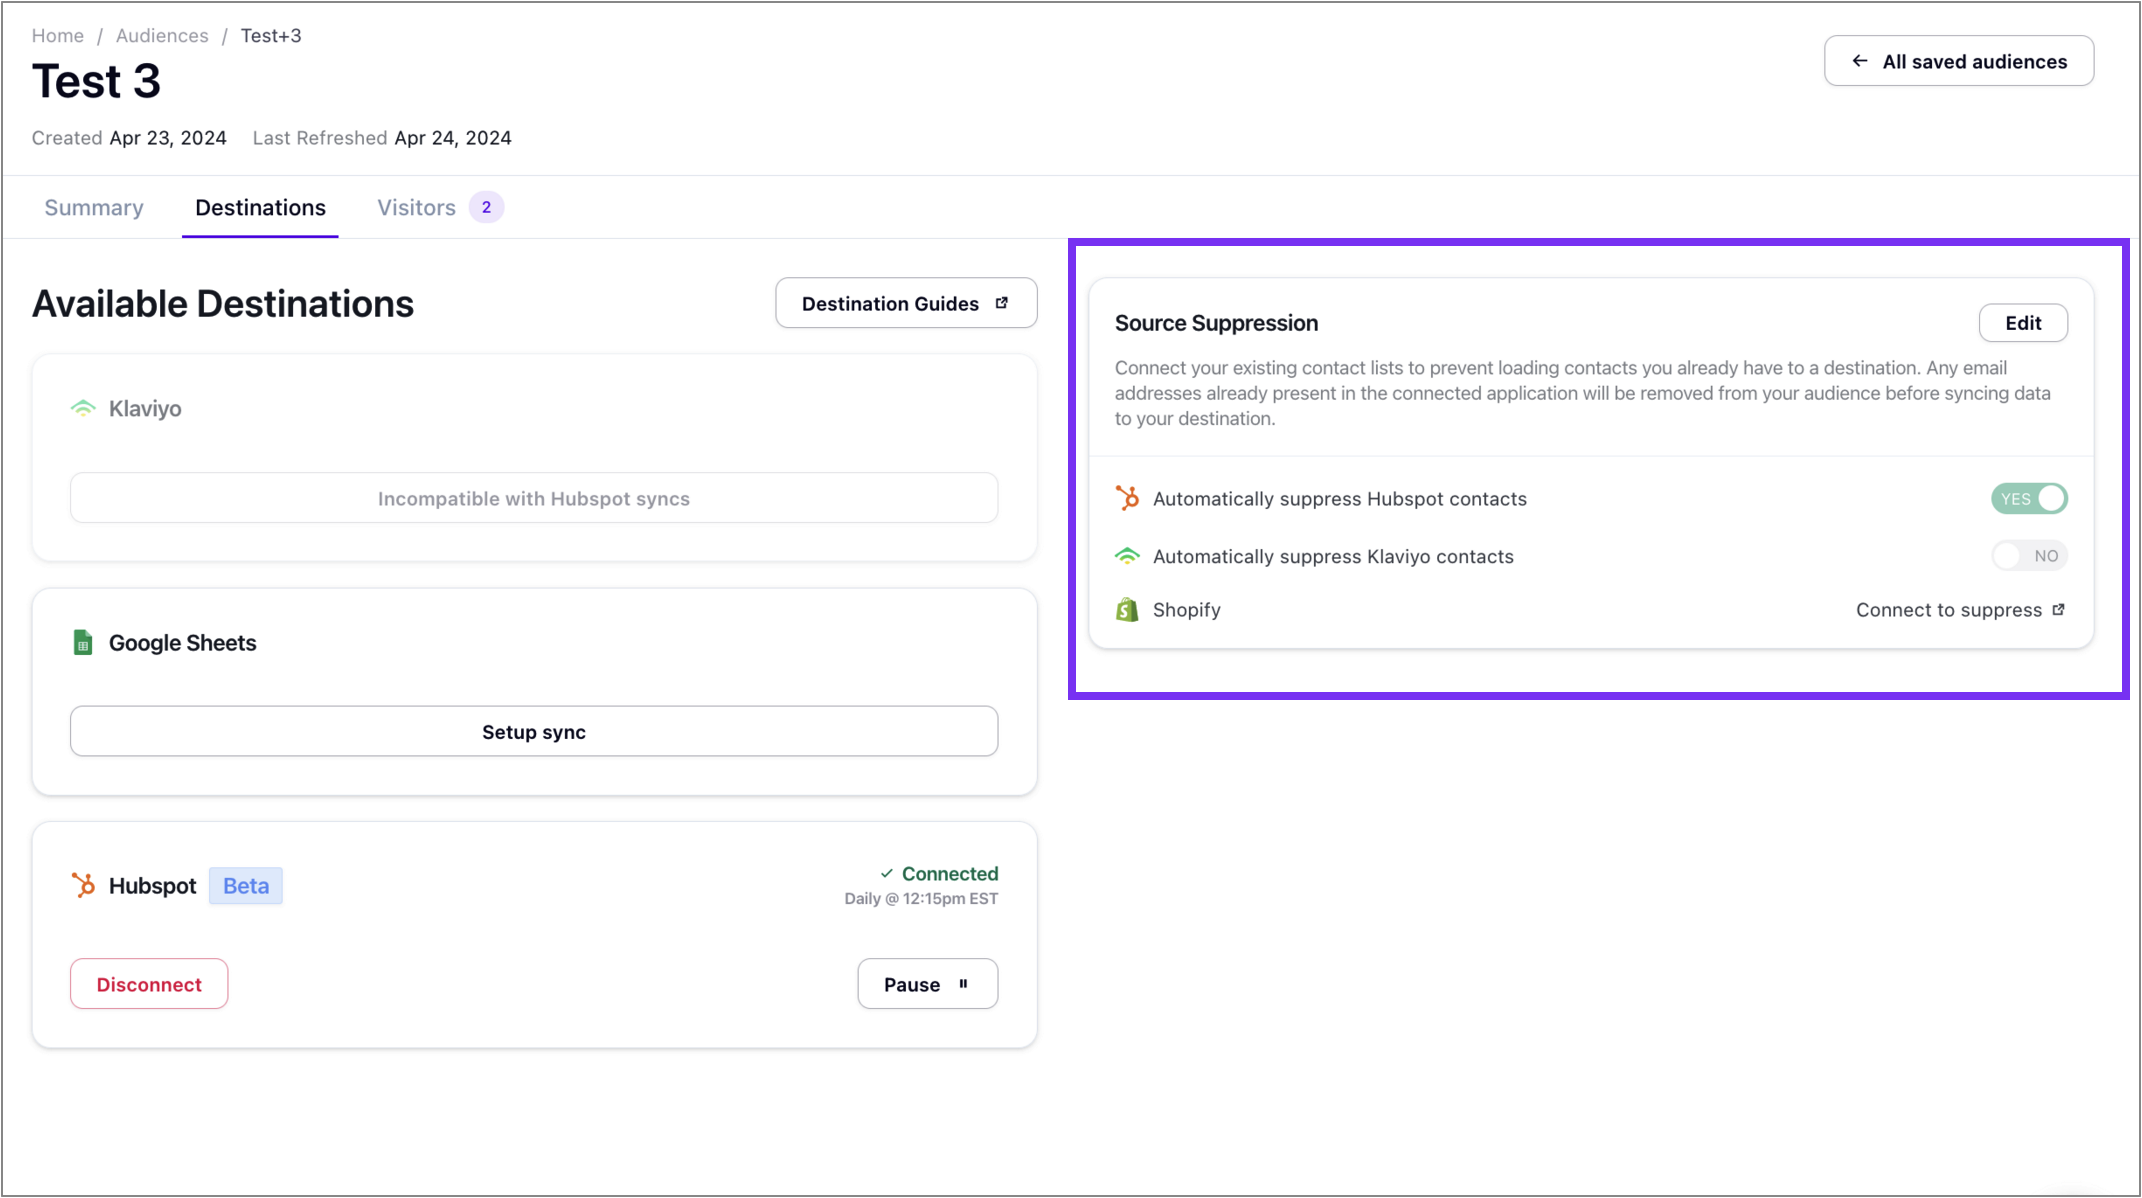
Suppressing HubSpot contacts in your destination settings ensures only fresh visitor data is transmitted, avoiding duplicate records in your CRM. During setup, Untitled requires that you enable the HubSpot suppression settings for audiences intending to sync to HubSpot. Once activated, Untitled automatically handles duplicate suppression before syncing your audience data to HubSpot.
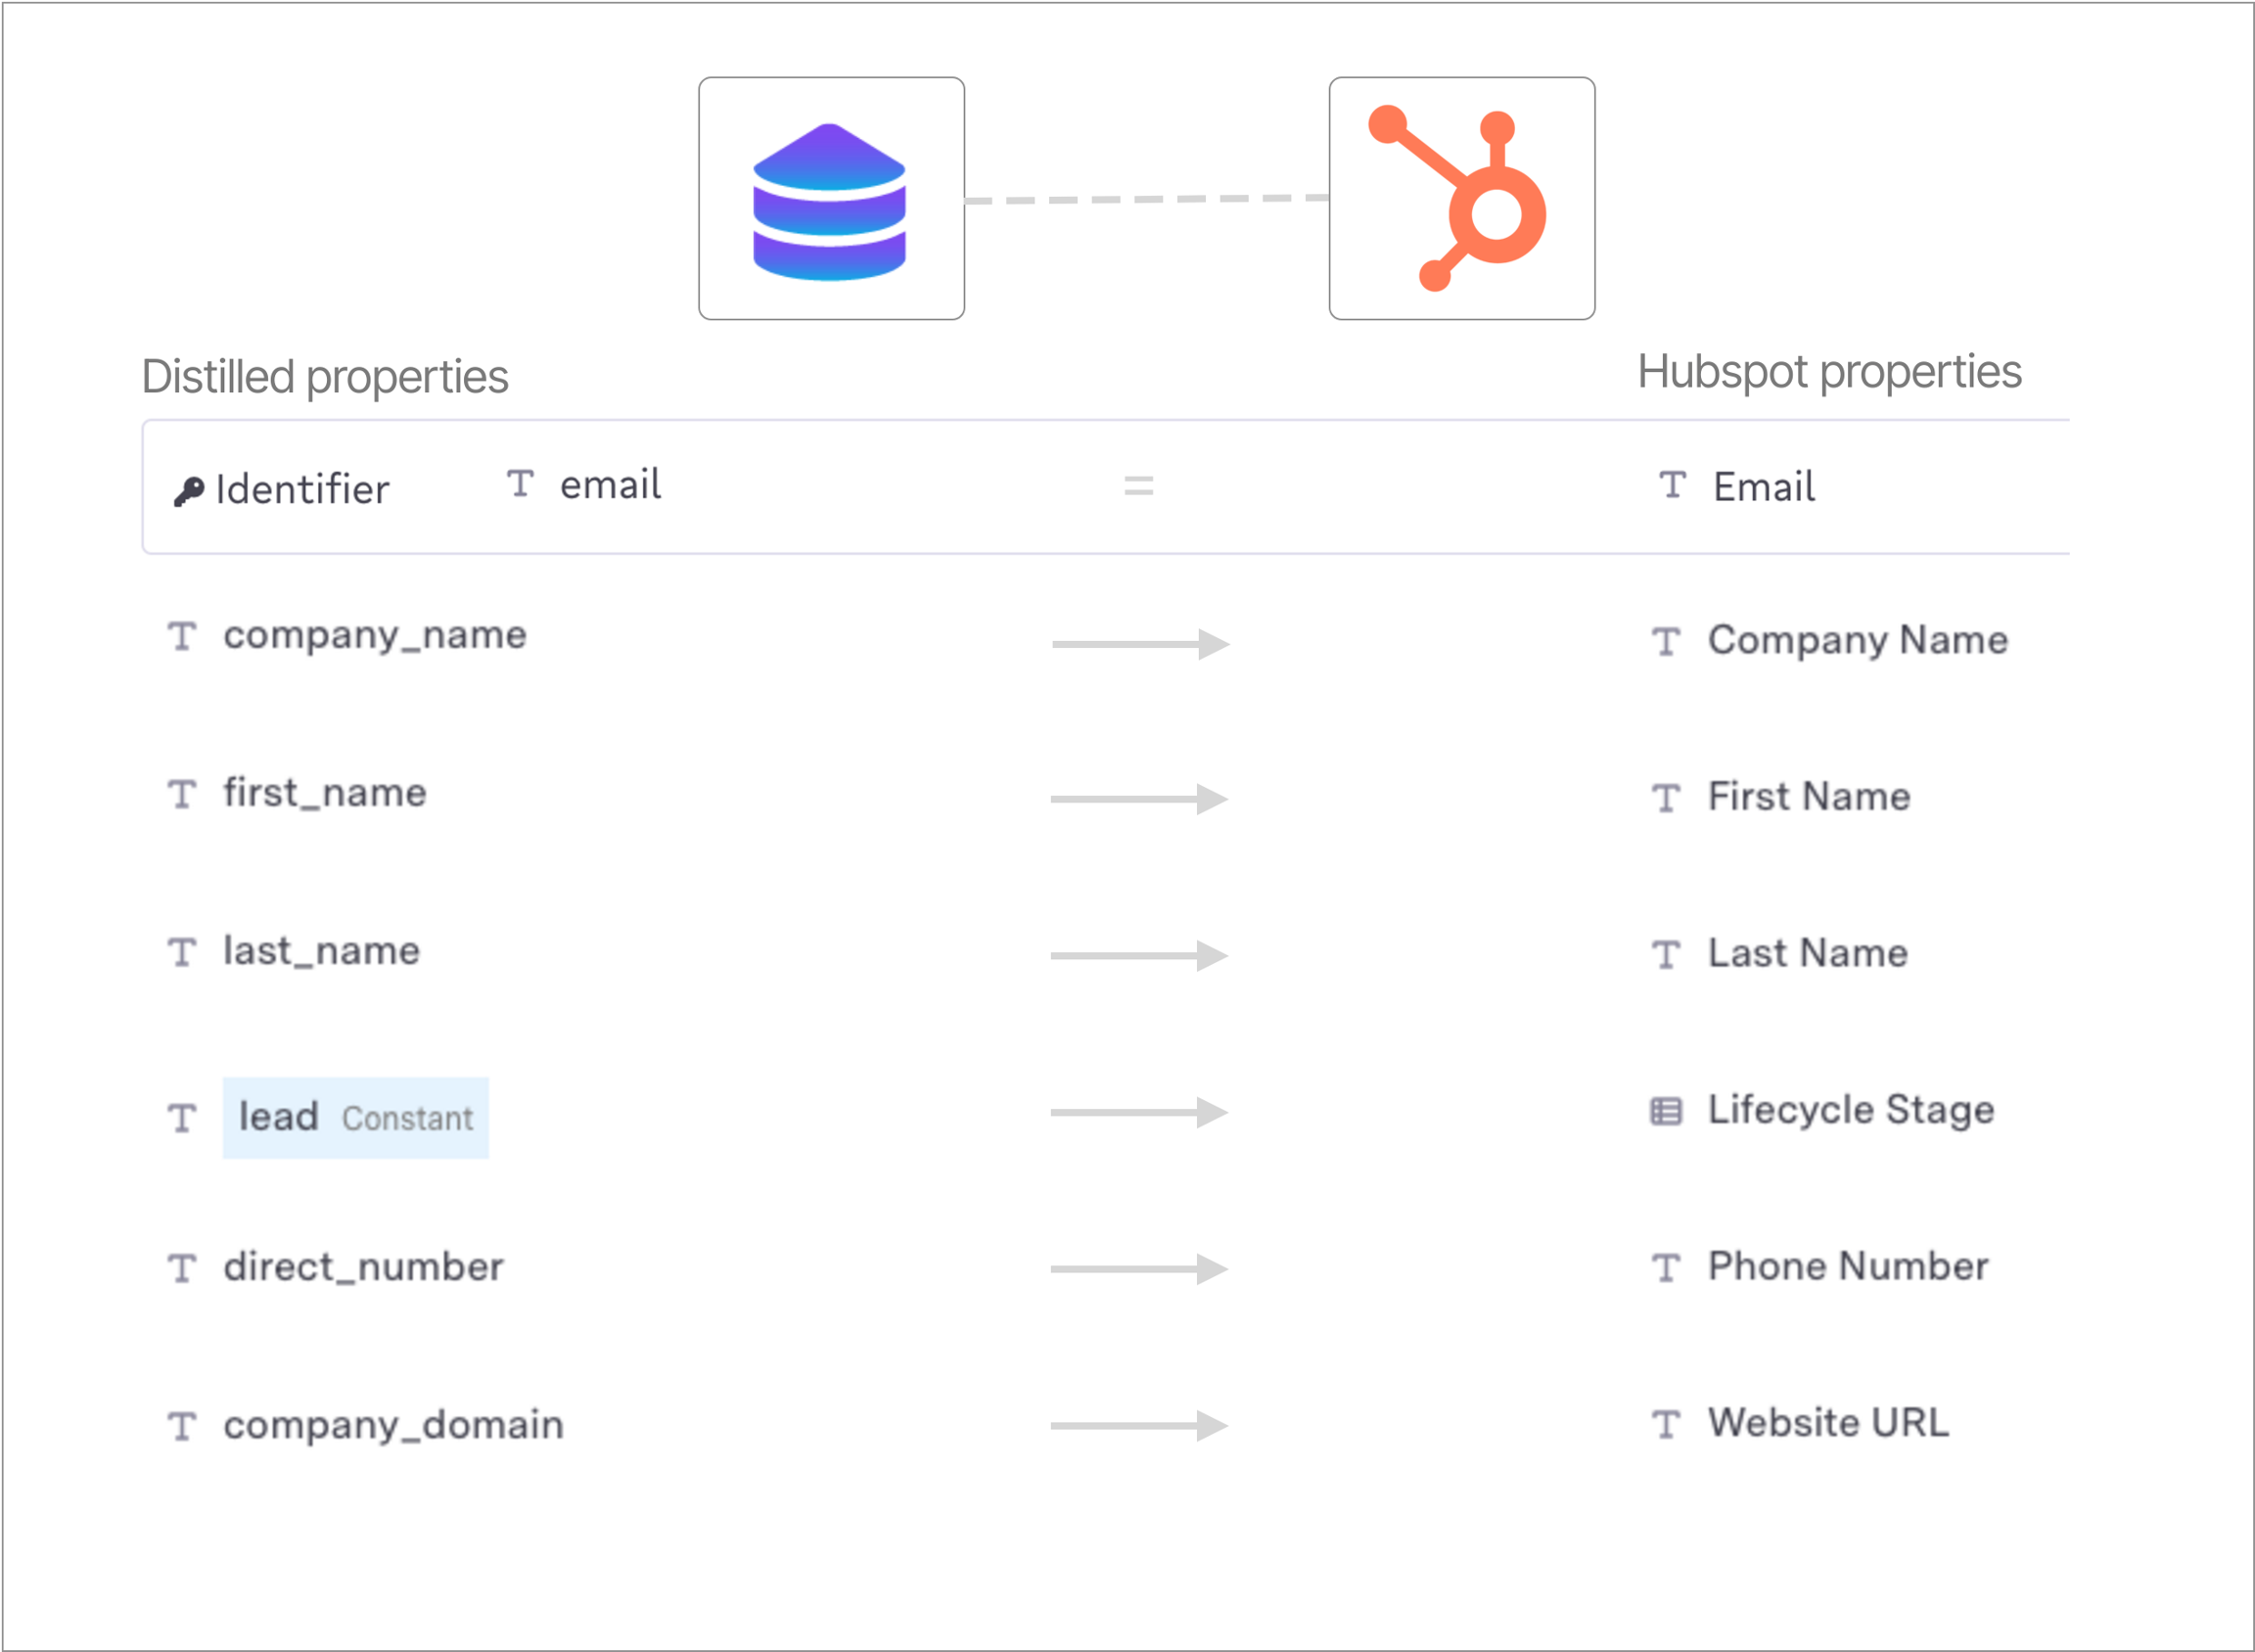
Mapping Rules between Untitled and HubSpot
Untitled records will appear as new Hubspot Contacts with the following properties. Below are the mapping rules from Untitled to HubSpot.
Sorting Leads in HubSpot
Easily group and identify leads pushed to HubSpot based on the Original Source property. When leads are pushed from Untitled to HubSpot, the following HubSpot properties will auto-populate for each Contact record:
Original Source = “Offline sources”
Original source drill-down 1 = INTEGRATION
Original source drill-down 2 = Census
Sending your saved audiences from Untitled to HubSpot allows you to automate data transmission directly to your customer relationship management (CRM) platform. The following guide provides step-by-step instructions to help you seamlessly connect Untitled to HubSpot as a destination.
Connection Setup
Prerequisites
Start here! To ensure success, please ensure the following prerequisites are complete before proceeding.
Super Admin access to HubSpot Account
To authorize HubSpot as a destination in Untitled, you'll require Super Admin credentials to your HubSpot account. If you do not have Super Admin privileges, you can either work with your team to adjust your access level or share these instructions with an existing Super Admin for assistance.
Authorize HubSpot as a Source
Before configuring HubSpot as a destination for data transmission from Untitled, you will be required to establish HubSpot as a source for data import (inflow). This initial step enables Untitled to cross-reference and suppress duplications with the profiles already present in your HubSpot account. By connecting HubSpot as a source, you safeguard against any unintended updates or overwrites to your existing HubSpot profiles during the synchronization process with the destination. Follow the guide here to connect HubSpot as a source in Untitled.
Instructions
Connect HubSpot as a Destination
First, log into your Untitled account.
Select Destinations in the left navigation menu.
Find Hubspot and click Connect.
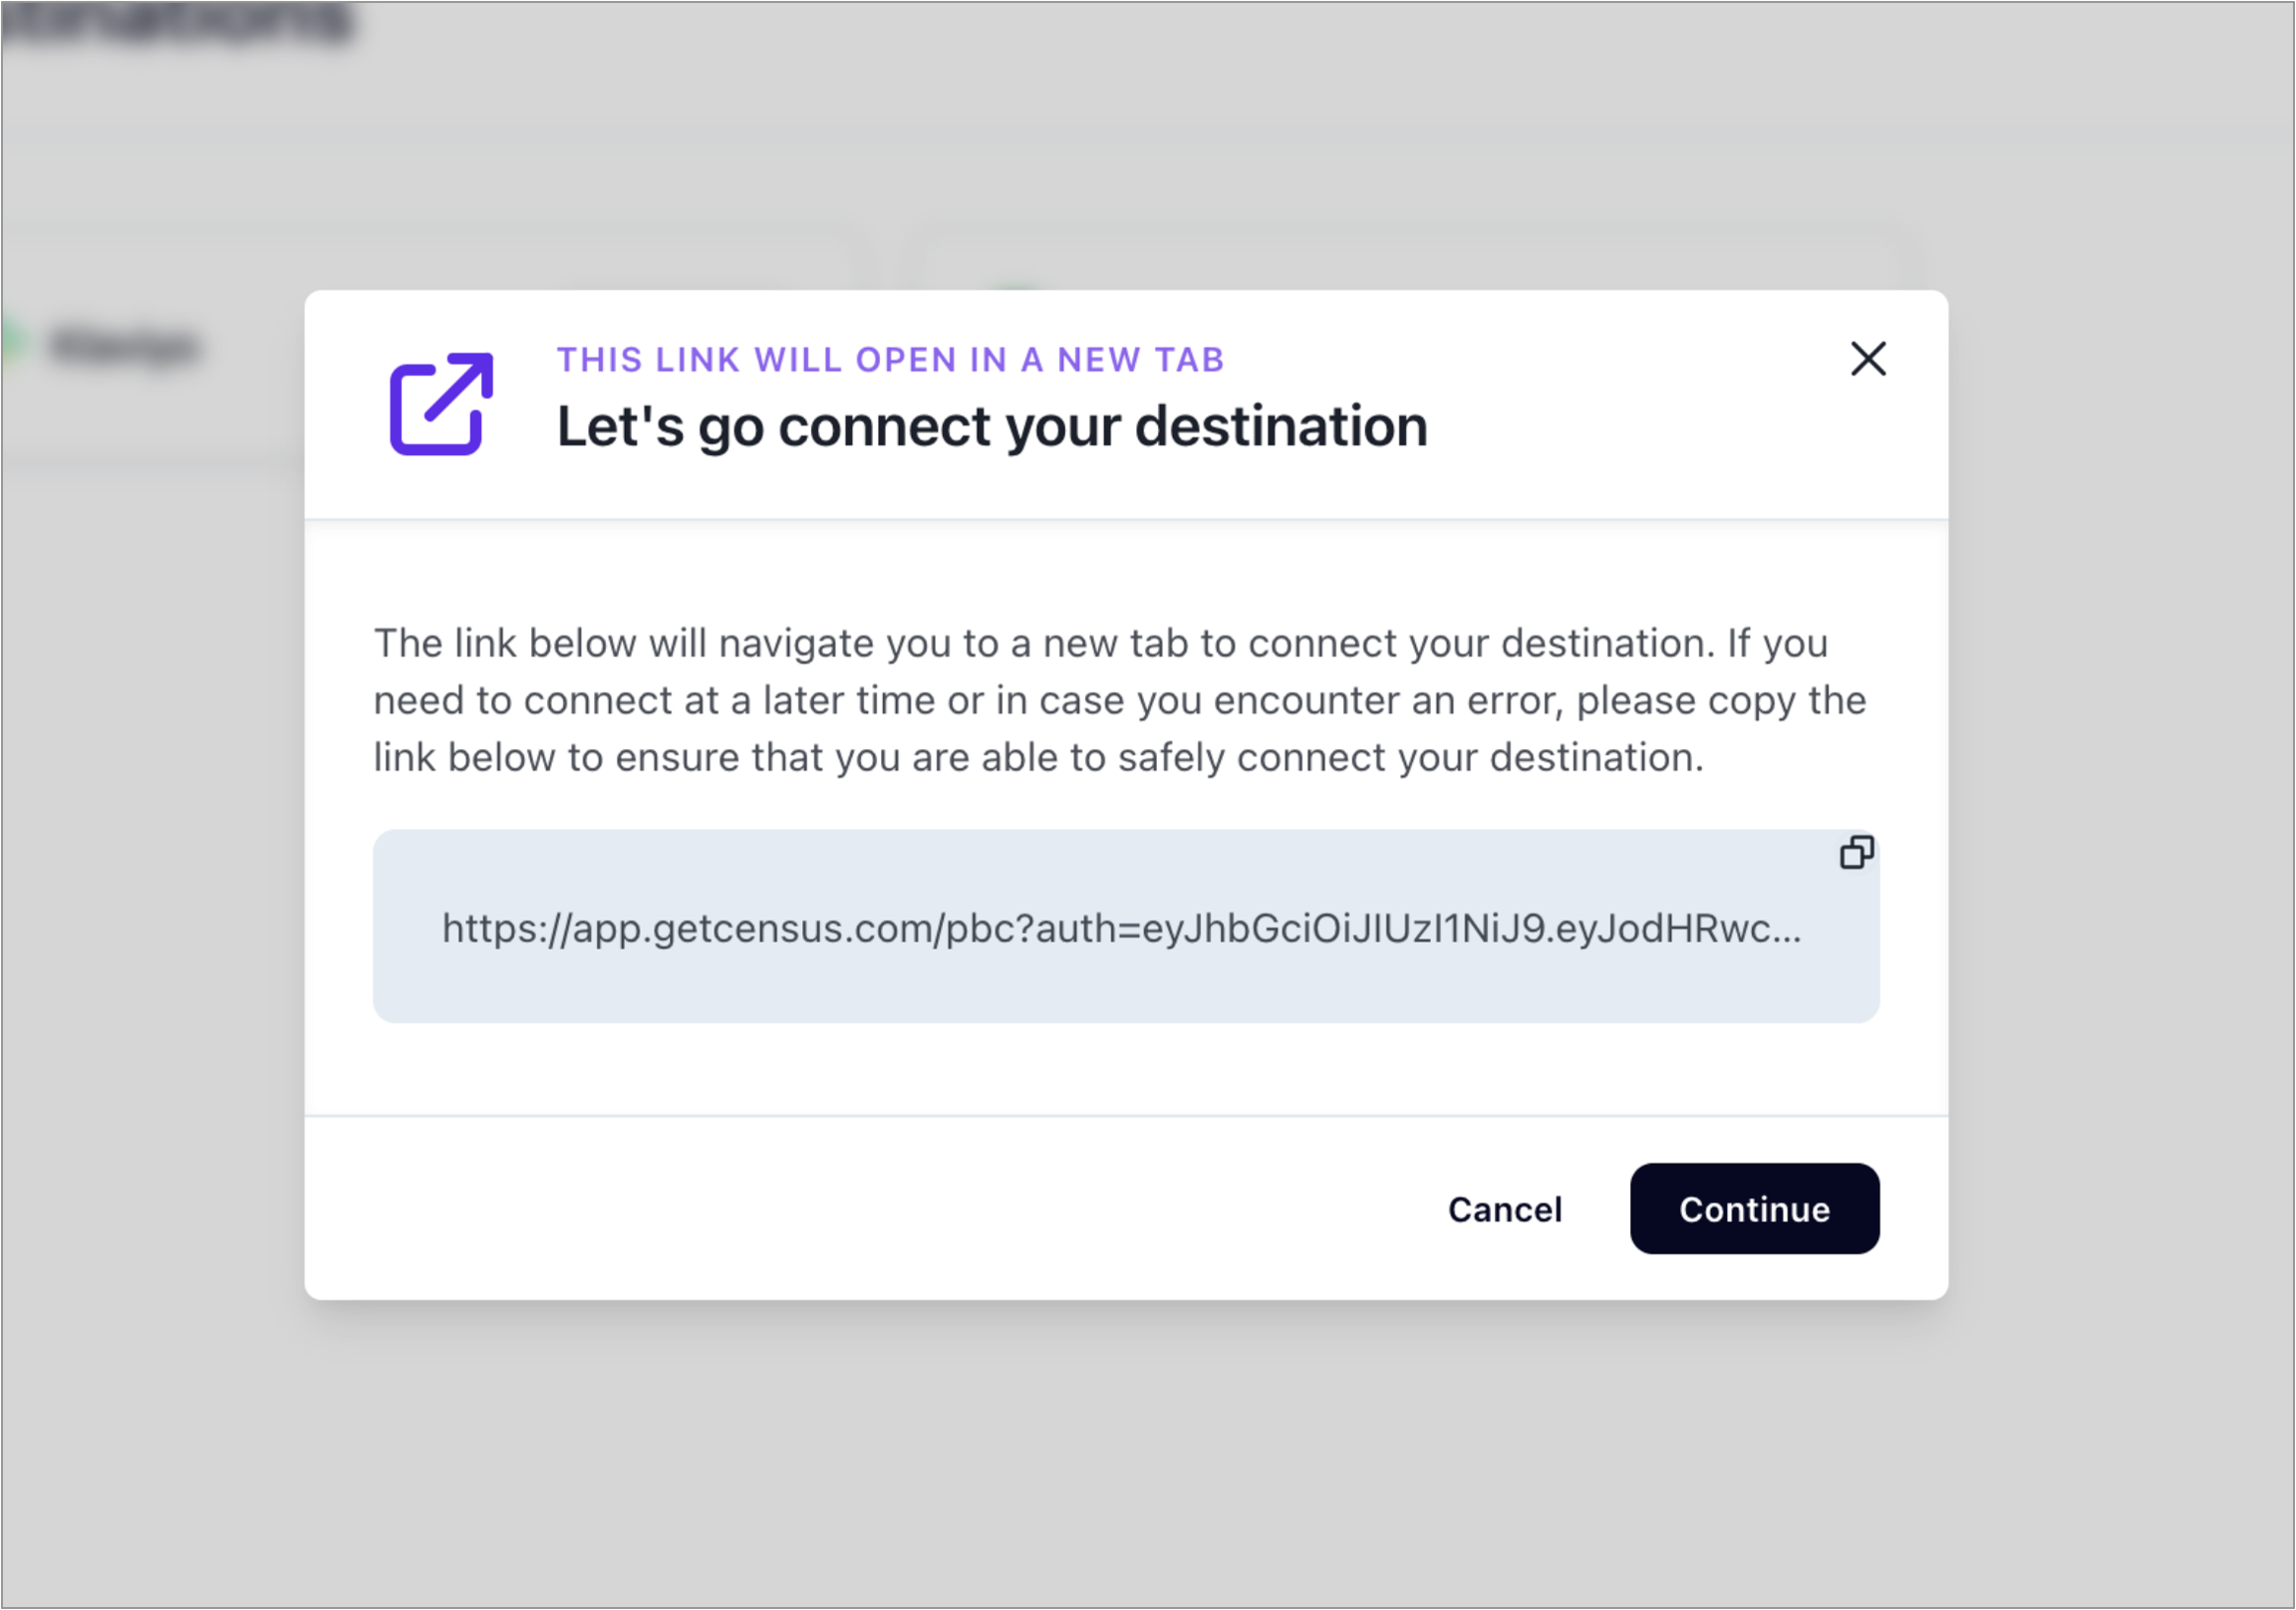
A popup will appear with a link. Select Continue - you will be redirected to a new window.
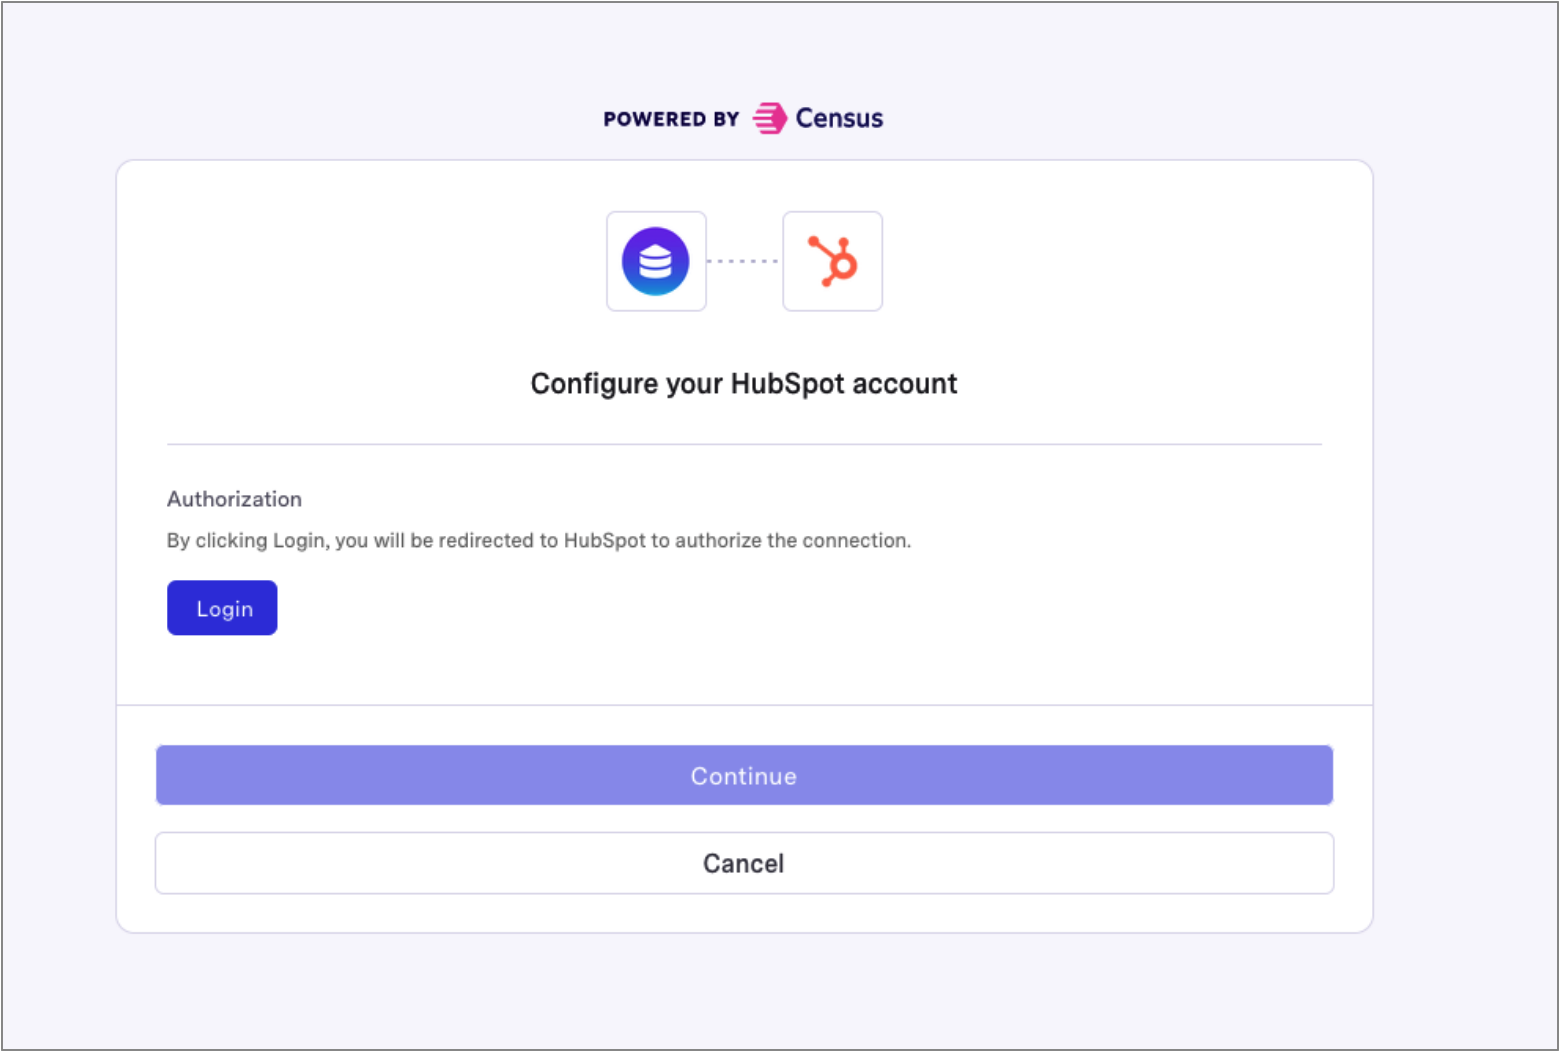
In the new window, first select Continue to allow a connection to Hubspot.
Next, you will be asked to login to your Hubspot account. Select Login and keep this window open.
After selecting Login, follow the prompt to Sign in to your Hubspot account
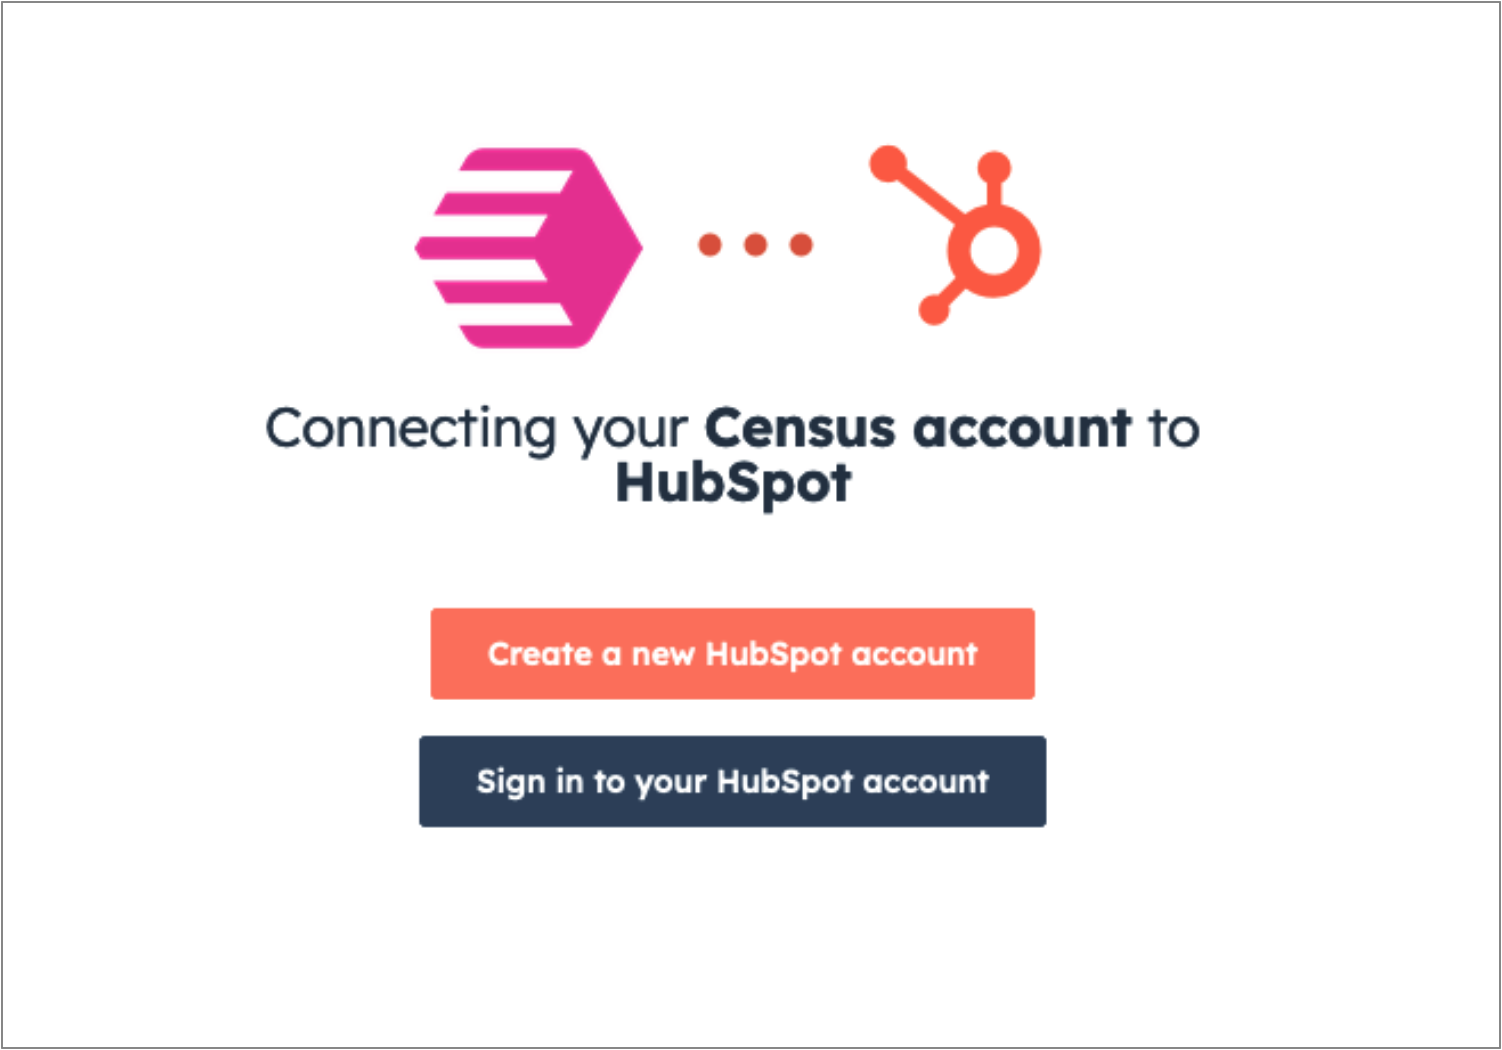
Enter your Hubspot credentials and select the account you would like to integrate with Untitled.
To authorize HubSpot as a destination in Untitled, you'll require Super Admin credentials to your HubSpot account. If you don't have Super Admin privileges, you can either adjust your access level or share these instructions with an existing Super Admin for assistance.
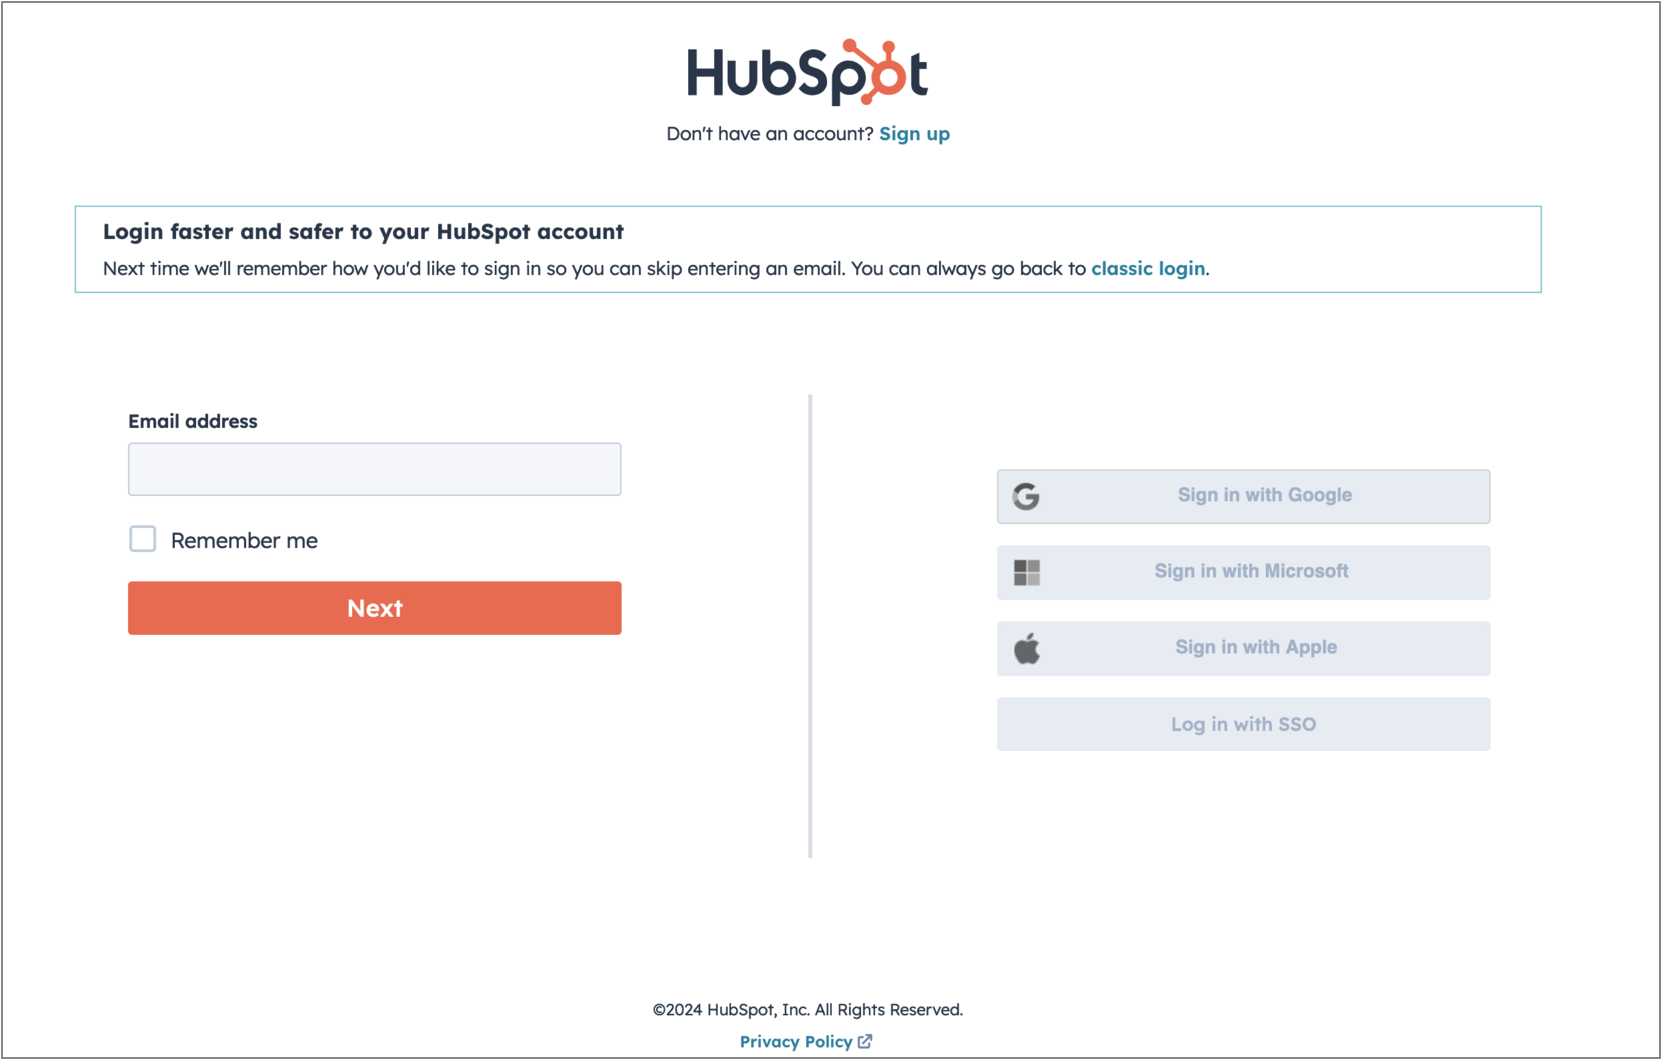
After the Test Connection is successful, select Finish. You will then be redirected back to your Untitled account.
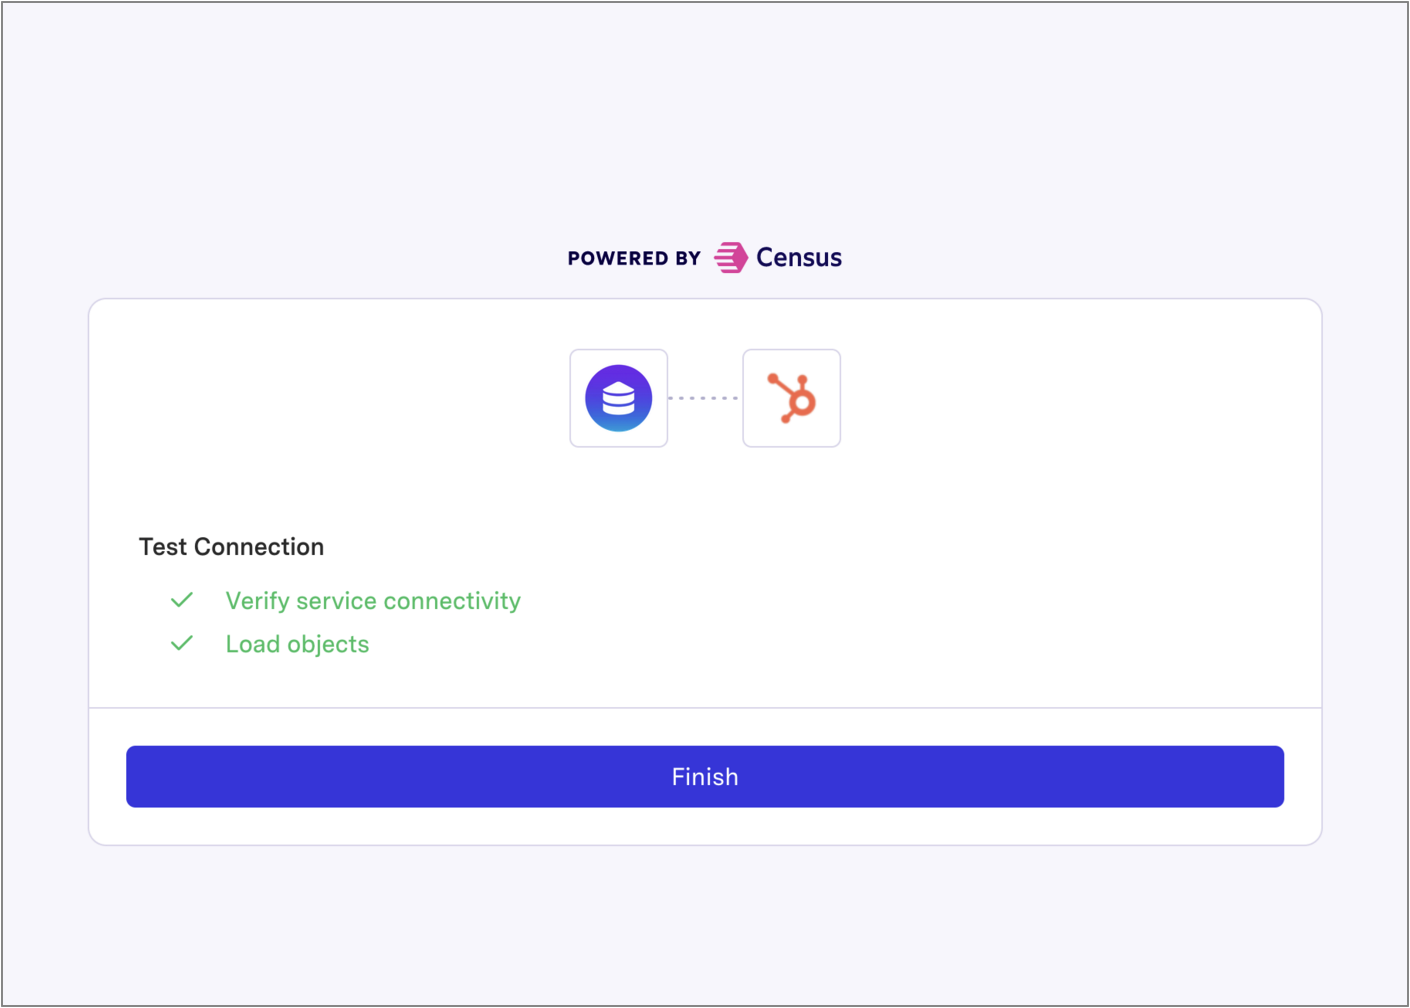
Nice work! You have now authorized HubSpot as a destination in Untitled. You are now ready to schedule one of your audiences to sync to Hubspot. Follow the steps below to get started.
Syncing Untitled Audiences
Select the Audience to Sync to HubSpot
On the left navigation menu, select the Audiences tab to view your list of saved audiences.
Select the View button next to the audience you want to push to Hubspot
If you still need to create your first Audience, select the Create new + button in the top right corner. Utilize the demographic, firmographic, and behavioral filters to target specific segments of your website visitors. Follow this guide to learn more - How to Build & Save Audiences in Untitled.
Go to the Destinations tab of your saved audience.
Under HubSpot, select Setup sync
Confirm Suppression Settings & Setup Audience Sync
If you have not setup Hubspot as a source for data import, you will be prompted to authorize HubSpot as a source before moving forward. For step-by-step instructions, reference the guide here.
Select Setup Sync to Hubspot. Follow the prompt to Update and Refresh the Audience with the required suppression settings. You may have to wait up to one minute for your audience to refresh.
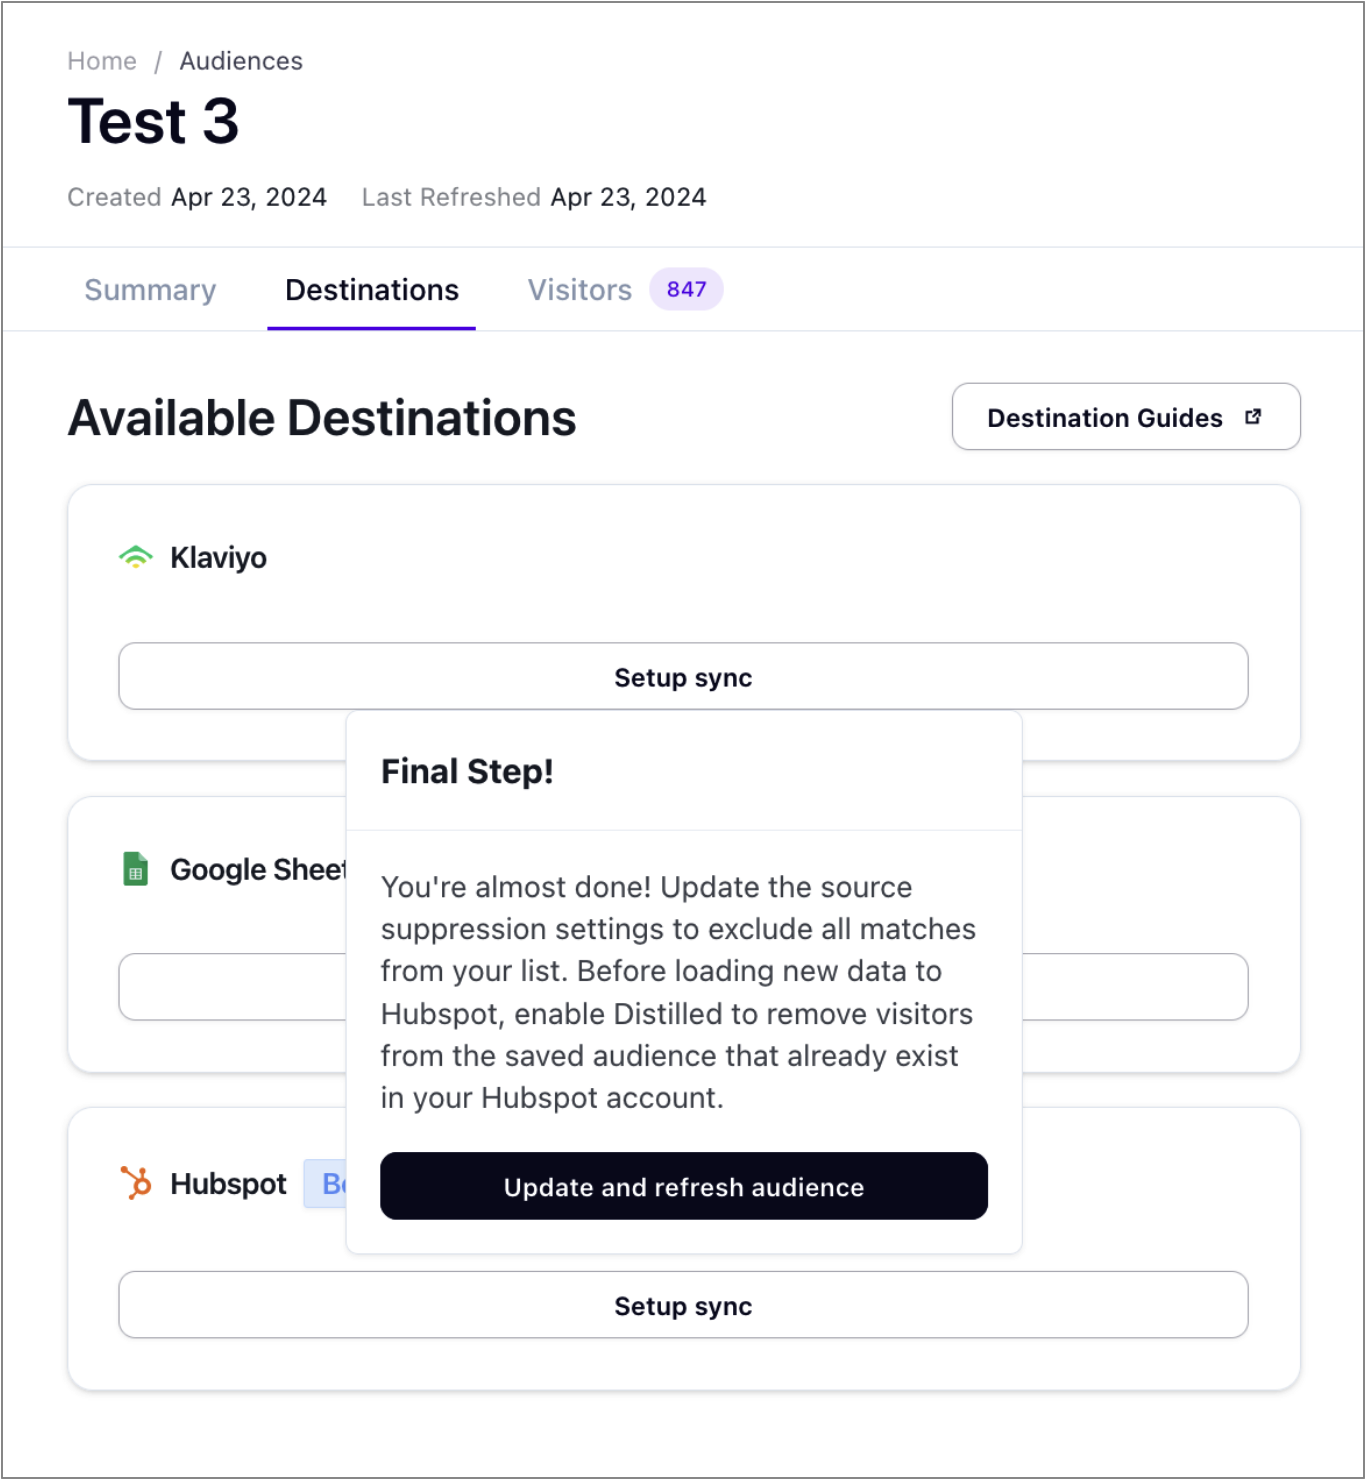
Note: When you confirm to Update and Refresh the Audience, Untitled will automatically apply the necessary suppression settings to your audience. This settings update will be visible in the section titled Source Suppression. You can now proceed to the next step.

Select Setup sync again. Enter the Audience name to confirm the integration and hit Continue
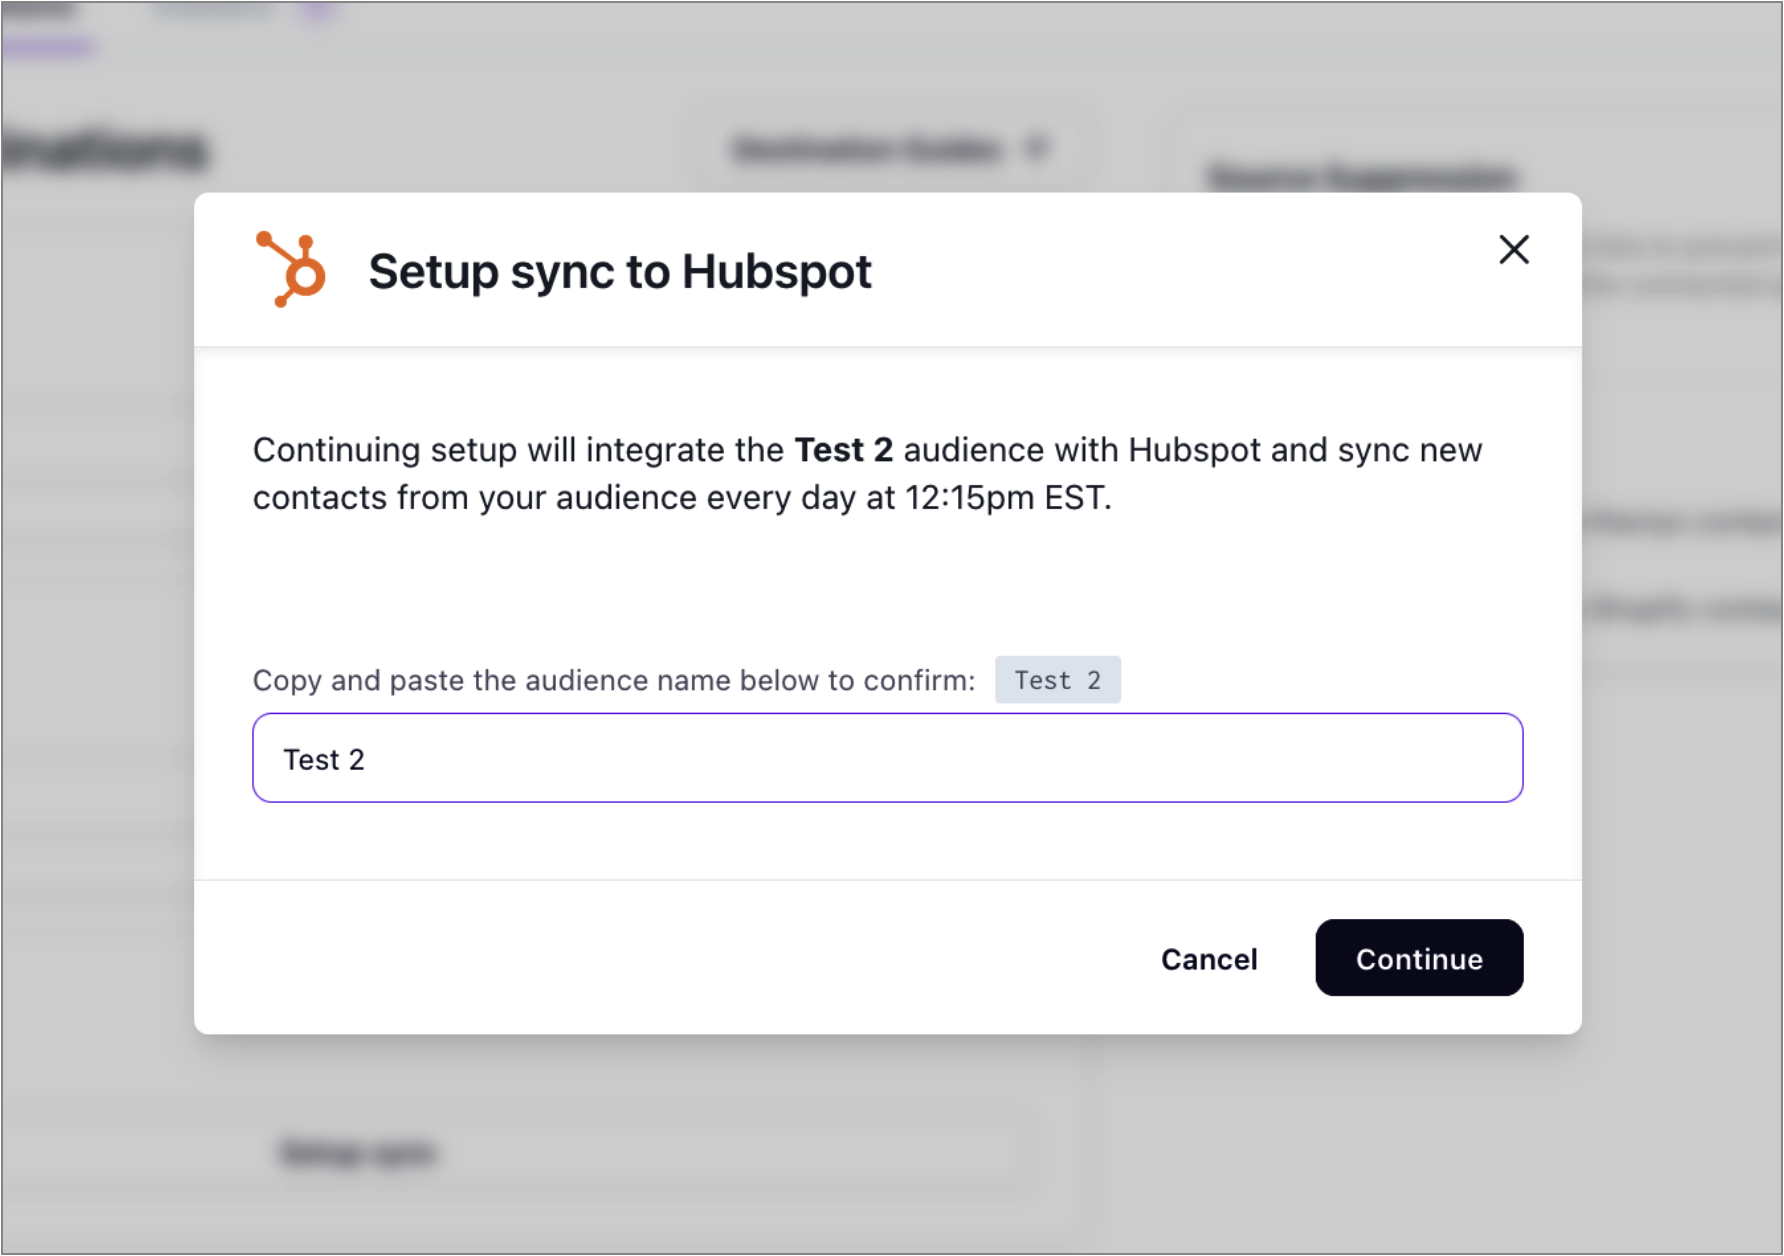
Done! Your saved audience has been successfully integrated with Hubspot. You can integrate an unlimited number of saved audiences in Untitled to your HubSpot account by repeating the previous steps. Proceed to the next section for additional workflow recommendations within Hubspot to get the most out of your Untitled Audience.
Untitled Audience Workflows in Hubspot
Prerequisites: Ensure your desired audience is synced from Untitled to HubSpot.
Part A: Create an Active Segment (formerly called List) in HubSpot
Log in to your HubSpot account.
Navigate to CRM > Segments and click Create segment.
Choose Create a segment of Contacts, then click Next.
Part B: Set the Filter Criteria
Untitled populates two additional Contact Properties when it syncs data: Membership Notes and Record Source Detail 1. Membership Notes populates with the Untitled Audience name, and Record Source Detail 1 populates with "Census". You can use either property to identify Untitled-synced contacts.
In the Filter Group, click Edit filter.
Select the filter type: Contact properties.
Search for and select the property named Record source detail 1.
Set the filter condition to is equal to any of.
In the value field, type:
Census(This is the identifier used for records synced from Untitled — see screenshot if available.)

You should now see your synced contacts populate in the segment preview.
Save your segment and give it a recognizable name.
Part C: Use the List as a Workflow Trigger
Navigate to Automation > Workflows.
Create a new workflow (or open an existing one).
For the enrollment trigger, choose Data Values > Segment membership changed > Added to segment.
Select the Active Segment you just created (in Part B).
Part D: Build Your Workflow
Add emails and actions as desired.
Use branching logic to segment users based on additional attributes or behaviors coming from the Untitled ID Tag.
Need Further Support or Have Additional Questions?
Check out our FAQs to get some answers, start a chat on our website, or get connected directly with our team here.
Last updated
Was this helpful?