Klaviyo
By syncing your audiences directly to Klaviyo, your team can better automate and streamline your email marketing efforts.
Destination Overview
Klaviyo is a powerful email marketing platform that allows businesses to send targeted and personalized emails to their customers and subscribers. This user guide will walk you through the process of setting up Klaviyo as a destination in Untitled and sending audiences to Klaviyo effectively.
Before configuring Klaviyo as a destination for data transmission from Untitled, it's essential to establish Klaviyo as a source for data import (inflow). This initial step enables Untitled to cross-reference and avoid duplications with the profiles already present in your Klaviyo account. By connecting Klaviyo as a source, you safeguard against any unintended updates or overwrites to your existing Klaviyo profiles during the synchronization process with the destination. Follow the guide here to connect Klaviyo as a source in Untitled.
Walkthrough Video
If you've already set up Klaviyo as a Source in your Untitled account, you can start this video at 3:12.
0:00 Introduction 0:07 Benefits and “Before you Begin” 0:36 Setting up Klaviyo as an Untitled Source 1:35 Creating Private API Keys in Klaviyo 2:25 Recommended Settings for Klaviyo Source Sync 3:12 Setting up Klaviyo as an Untitled Destination 4:21 Finding your Klaviyo Public API Key 4:35 Creating Private API Keys in Klaviyo 5:34 Syncing an Untitled Audience to the Klaviyo Destination 6:15 Suppress Klaviyo as a Source when syncing Audiences 6:42 View your Untitled Audience as a List in Klaviyo 7:05 Build a Klaviyo Flow with your synced Untitled Audience 7:53 Next Steps with Klaviyo as an Untitled Destination
Step-by-Step Connection Setup
Log into Untitled
First, log into your Untitled account.
Select
Destinationsin the left navigation menu.

Find Klaviyo Destination tile and click
Connect.A popup window will appear prompting you to name the integration. Name it something descriptive such as Untitled Destination. Once you've done so, click
Connect.

Another popup will appear with a link. Select
Continue, and then you will be redirected to a new window to begin the Authentication process.

In the new window, select
Continueto allow enable the connection method to Klaviyo.

Next, you will be asked to configure your Klaviyo account. Keep this window open, create a new tab or window, and login to Klaviyo

The next section will walk you through the process of retrieving the API keys from Klaviyo that are required to authenticate the Destination in Untitled.
To complete these steps, you must have Admin-level access to your Klaviyo account.
Authenticate Klaviyo as a Destination
You will need a Klaviyo Public API key and Private API key to setup the integration.
Your Klaviyo Public API Key
Your Public API key is also called your Site ID. This is a short alphanumeric value. This public key is a unique identifier for your Klaviyo account, and there is only one per account. It is safe to expose your public API key, as this key cannot be used to access data in your Klaviyo account.
Your Klaviyo Private API Key
Private API keys are used for reading data from Klaviyo and manipulating some sensitive objects such as lists. Treat private API keys like passwords kept in a safe place. A Klaviyo account can generate as many private API keys as needed.
Steps to Retrieve your Public API Key
Log in to your Klaviyo account and click on your organization name in the lower left
Select
Integrations
Then select
Developer tools

On the right side menu, select
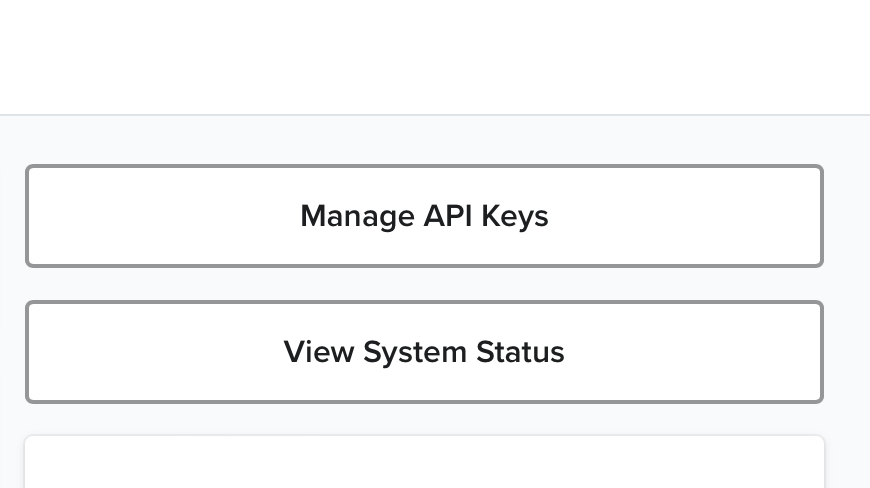
Manage API Keys.

In the input field section titled
Public API Key / Site IDcopy/paste your Klaviyo public API key (i.e., Site ID)

After copying the Public API Keys from your Klaviyo account into the Untitled setup configuration, navigate back to your Klaviyo Account to generate and retrieve your Private API Key.
Steps to Generate and Retrieve your Private API Key
Toggle back to your Klaviyo account. In the section titled “Private API Keys” click the button
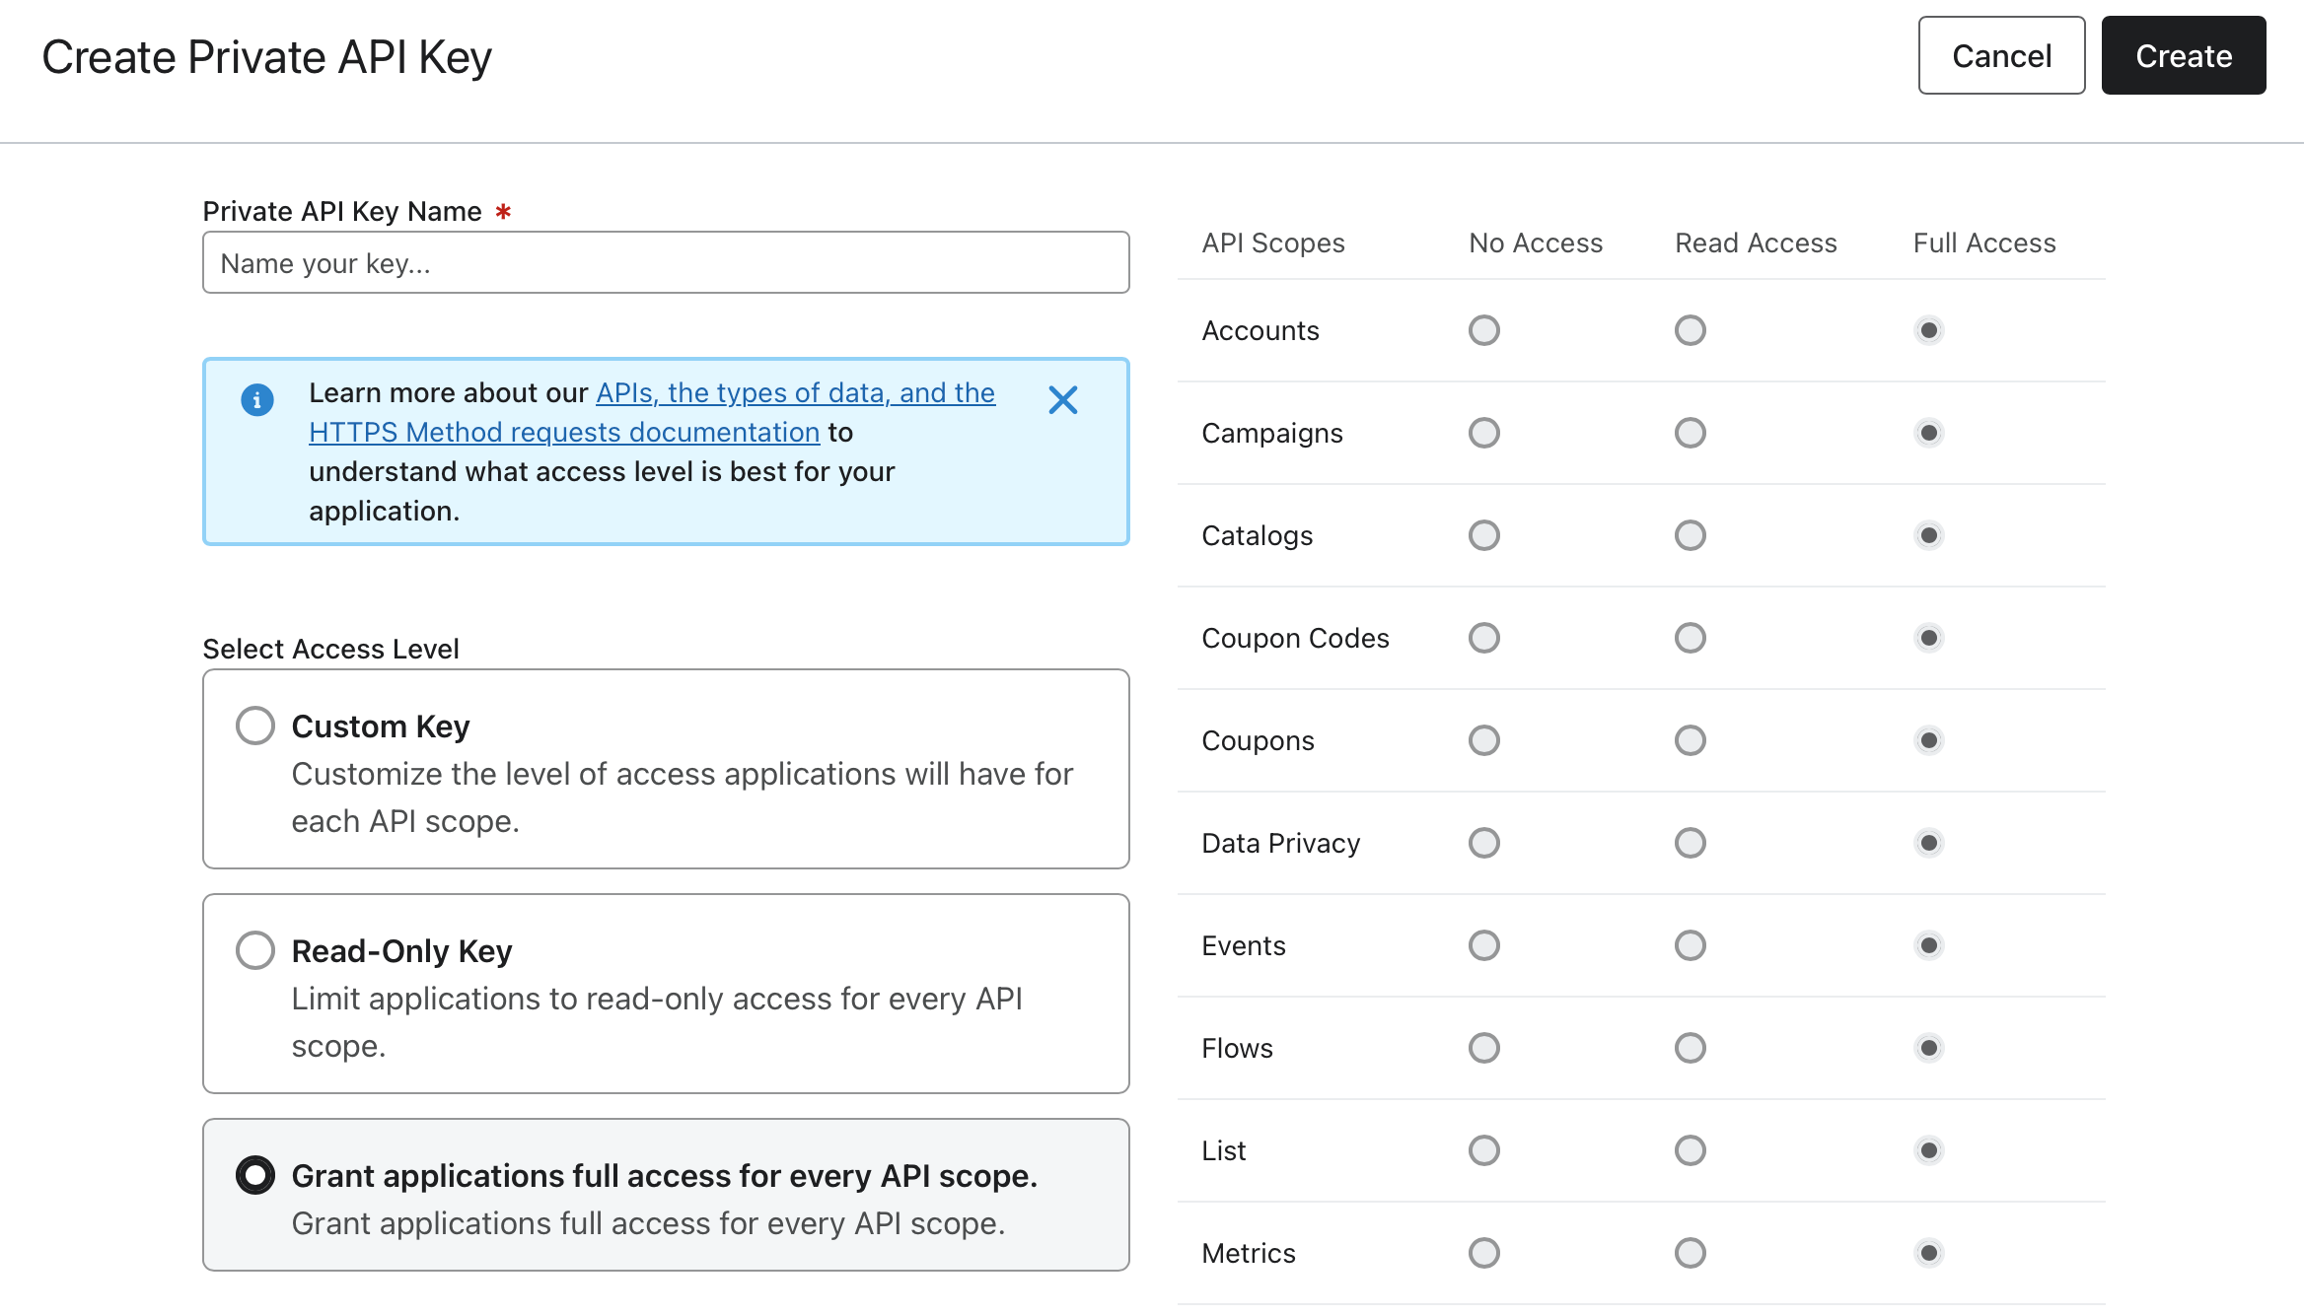
Create Private API Key.

Name the Private API Key in the top left - This can be any name you choose, we suggest an easy identifier such as “Untitled API Keys.”
Important: Under “Select Access Level”, select
Grant applications full access for every API scope.Click
Createto finish.

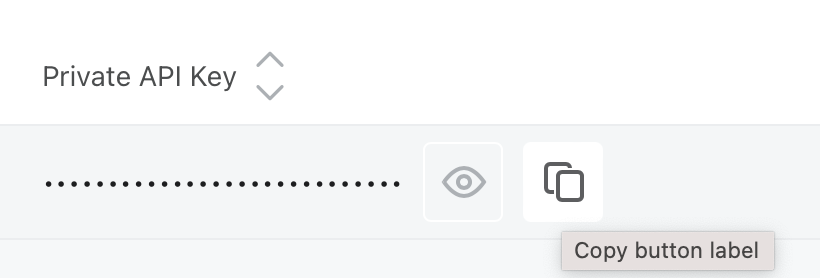
Copy your new Klaviyo Private API Key by selecting the
Copybutton.

After copying the Private API Key from your Klaviyo account, navigate back to the Untitled window with to finalize configuring your Klaviyo Account.

Paste the Private API Keyin the correct input box ("Labeled Private API Key").Press
Continue.A sequence of connection tests will run automatically. If successful, a confirmation message will appear on the configuration page, letting you know it’s safe to close the window.
You should now see a green indicator icon for the Destination in your Untitled Destinations Tab. If so, you've successfully authenticated your Klaviyo Destination.

Sync Your Audience to Klaviyo
Navigate to the Untitled Audience Library.

If you still need to create your first Audience, select the Create new + button in the top right corner. Utilize the demographic, firmographic, and behavioral filters to target specific segments of your website visitors. Follow this guide to learn more - How to Build & Save Audiences in Untitled.
Click into the Audience you'd like to sync to Klaviyo by Select the
Viewbutton next to the audience you want to push to Klaviyo.

Click the
Destinationstab and on the Klaviyo tile, selectSetup sync.
This tile will only be available if you've successfully authenticated and connected your Klaviyo Destination to Untitled.
Enter the audience name to confirm the list creation in Klaviyo and then click
Continueto complete the sync setup.

After completing this step, you’ll see a confirmation screen and a green ' ✔️ Connected' message will also appear on the Klaviyo Destination tile.

Done! Your Untitled Audience has been successfully integrated with Klaviyo. The initial sync to Klaviyo may take up to five minutes to populate. Your audience will sync as a new List and receive updates daily at 12:15pm EST. With the audience's filter settings applied, new visitors will be continuously refreshed and added to your list automatically.
You can integrate an unlimited number of saved audiences in Untitled to your Klaviyo account by repeating the last six steps. Each saved audience that is synced to Klaviyo will populate in your Klaviyo account as a new list.
Suppress Potential Overwrites on Existing Klaviyo Records
As long as you have also connected Klaviyo as a Source for data import, Untitled ensures that only new visitor data is transmitted to Klaviyo and handles deduplication automatically for you. However, there is one step you'll need to complete if you'd like to prevent potential record overwrites.
Within the Audience you plan to sync to Klaviyo, be sure to enable the "Automatically suppress Klaviyo contacts" to YES

Before configuring Klaviyo as a destination for data transmission from Untitled, it's essential to establish Klaviyo as a source for data import (inflow). This initial step enables Untitled to cross-reference and avoid duplications with the profiles already present in your Klaviyo account. By connecting Klaviyo as a source, you safeguard against any unintended updates or overwrites to your existing Klaviyo profiles during the synchronization process with the destination. Follow the guide here to connect Klaviyo as a source in Untitled.
Troubleshooting Klaviyo Audience Syncs
Understanding the "Never Subscribed" Status in Klaviyo
When working with Klaviyo, you may notice that some users are labeled with a “Never Subscribed” status. This designation has specific implications and behaviors within the platform.
What “Never Subscribed” Means
Klaviyo automatically marks users as “Never Subscribed” if they have not explicitly opted into your marketing emails via a Klaviyo form — for example, through a Klaviyo-managed newsletter signup form. This is common for users who:
Were added via checkout flows or abandoned cart automations
Interacted with your store or data source outside of a formal email opt-in process
And lastly, for anyone you'd resolve via the Untitled ID Tag.
Can You Still Email These Users?
Yes. Despite the label, Klaviyo will allow you to send emails and flows to users marked as "Never Subscribed" — unless double opt-in is enabled in your account settings.
Why Might You Be Blocked from Emailing These Users?
If you're encountering issues sending to these users, the most common cause is that double opt-in is enabled in your Klayvio Account. This setting requires users to confirm their email address before being marked as subscribed. You can toggle this off in your Klaviyo list settings if needed.
When Does a User Become “Subscribed”?
Once a user completes a purchase (and assuming your integration is properly configured), Klaviyo will automatically update their status to "Subscribed."
Need Further Support or Have Additional Questions?
Check out our FAQs to get some answers, start a chat on our website, or get connected directly with our team here.
Last updated
Was this helpful?